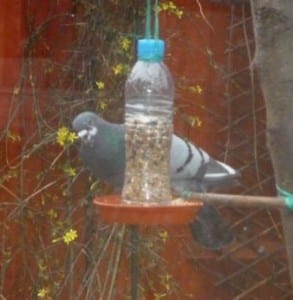
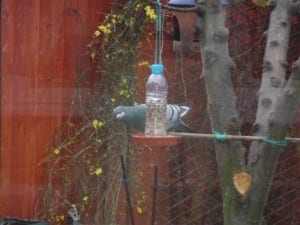
Give the birds in your garden an easier source of food this spring, by making your very own ‘home made’ bird feeder!
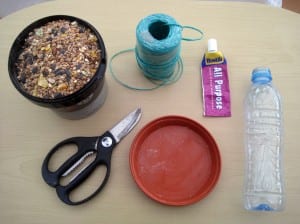
You will need:
- Scissors,
- nylon string,
- bird seed,
- a clear plastic bottle,
- ‘all purpose’ glue and
- a plant pot saucer.
With help from a parent or guardian, follow these simple steps to making your bird feeder!
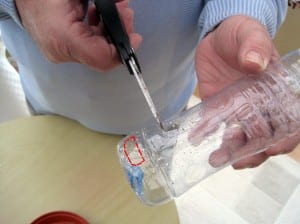
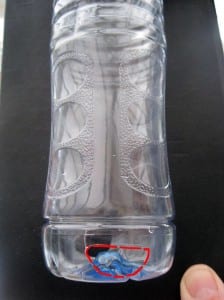
1. Cut a small round hole (about the size of a 2p piece) right at the bottom of your plastic bottle, one on each side. These holes will help the bird seed spill out once you fill up the bottle- so the birds can get to the seed.
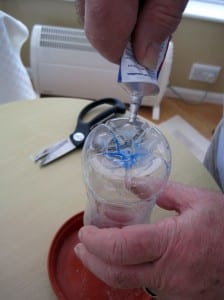
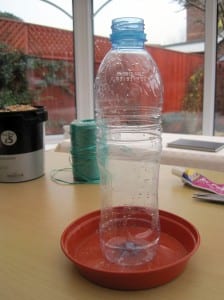
2. Next, you need to stick the base of the plastic bottle in the centre of the plant pot saucer. Ask a parent to do this for you, as you need to use extra strong glue.
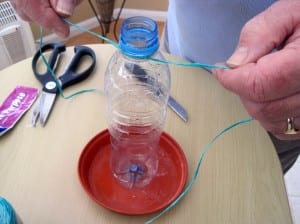
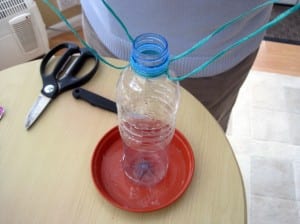
3. You then need to tie nylon string around the neck of the bottle. Tie some on each side so the bottle hangs straight and even.
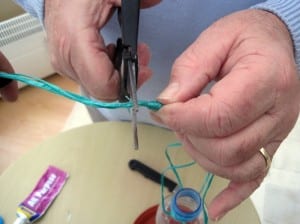
4. Tie all the ends of the string together in a knot, and cut off any extra string left.
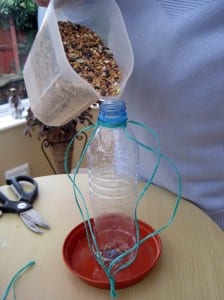
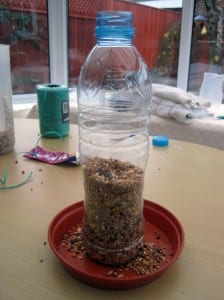
5. It’s then time to fill up your bird feeder with bird seed. You will notice some of the seed spilling out of the holes. This makes it easier for the birds to get to the dry seed.
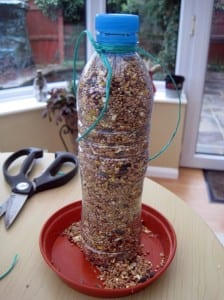
6. Fill your bird feeder right to the top of the bottle, and fasten on the lid to stop rain water getting in.
7. Hang your bird feeder on the branch of a tree in your garden, or even on your washing line! Watch as different birds peck away at the seed near the holes in the bottle, you will notice more seed spilling out into the saucer.

